Access the DNS Zone Editor
- Log in to the DNS Made Easy account.
- Click on the DNS -> Managed DNS menu.

- Select your domain name.
Back to top
Create a SPF record
- Scroll down to the SPF Records section.
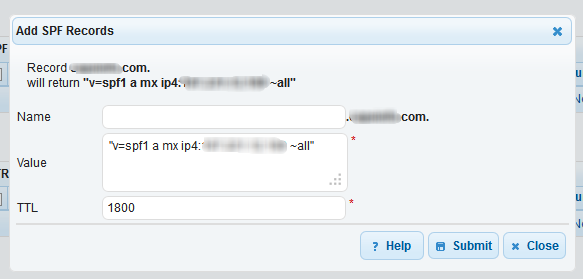
- Click on the small add button to create new SPF record

- Name: Enter your sub-domain or leave that field empty if you want the SPF to be applied to your main domain name.
- Value: Enter here your SPF record with quotes ( "v=spf1 a mx ~all" )
- TTL: Leave the default value.
- Click on the Submit button to create the record.
Back to top