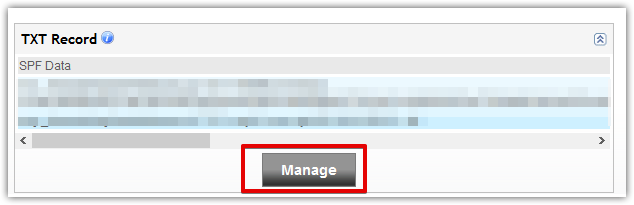
Scroll down to the TXT Record zone and click on the Manage button on that area
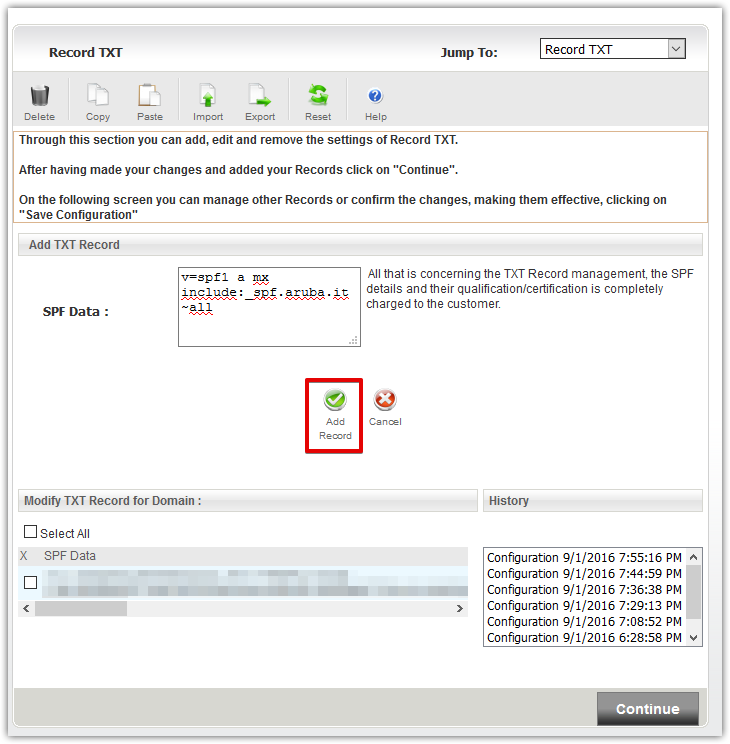
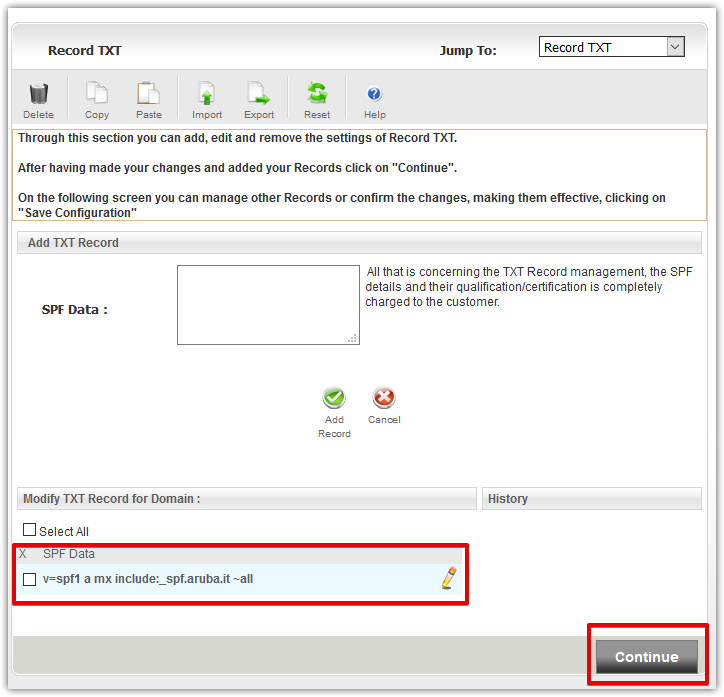
Enter your SPF record in the textarea ( v=spf1 a mx include:_spf.aruba.it ~all ) and click on the Add Record button
Your new entry will appear in the bottom section, click on the Continue button
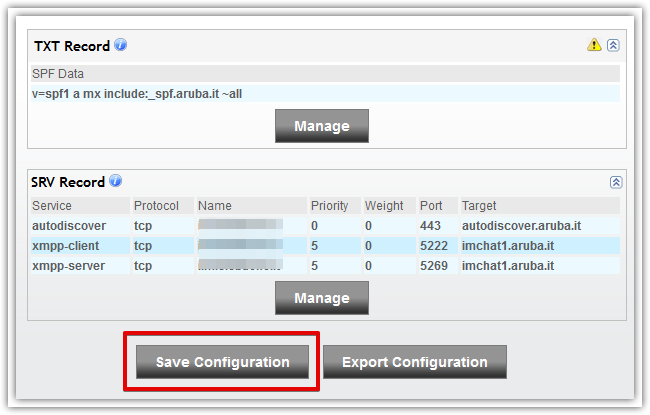
You will be redirected to the DNS manager where you can see your newly created SPF entry. Click on the Save Configuration button to save your modifications.